Creating a video is like winning the first half of the battle. Once you are done with the video shooting, it’s time to move on to the next step – the post-processing stage.
It requires a blend of creativity and technical knowledge, which makes the process challenging for beginners.
Are you an amateur video editor who has recently dipped his toes into the video editing process? Here, we have rounded off some of the best tips to edit eye-catching videos without hassle.
Keep your audience in mind
Edit videos keeping your audience in mind. Knowing your viewers’ perspectives will guide all your video creativity and edit decisions. So, before you start editing the video, dig as deep as possible to get your answers and begin the process accordingly.
Once you get a good sense of your viewers, you know half of what you need to create and edit for the final result. It’s always best to have your audience as a niche to develop a polished result.

Choose the right tool
Whether you are a beginner or a pro, selecting the right video editing tool is essential to commence the video editing process. The internet has plenty of online video editor options from which to choose. They all offer everything to perform standard video edits; therefore, you should prefer one over others for usability, digital interface, and features.
The key here is to select what works best for you and matches your editing style. Don’t select the latest and most advanced video editing program available on the market. It would be best to choose an online video editor for which you don’t require a tech-oriented background to use without putting in much effort. Also, since you are a beginner, use a simple user interface and cost-effective subscription rates.
Pick the right computer
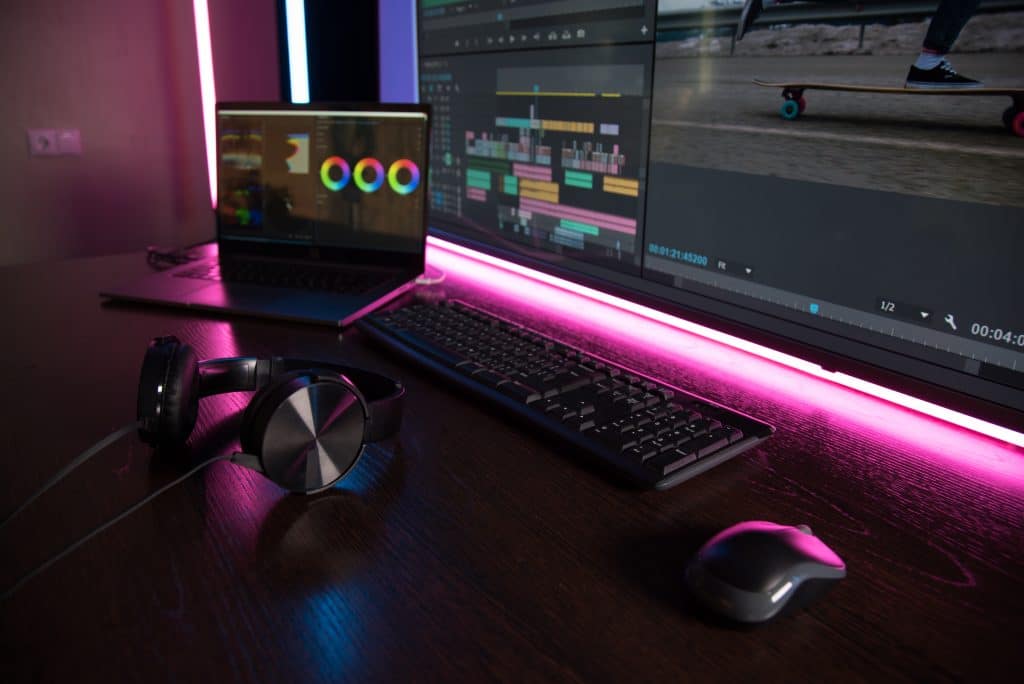
Choosing the right tool isn’t enough to edit eye-catching videos. You also require an appropriate computer to run the different editing applications without experiencing a lag.
Opt for a fast storage drive to access your clip and tool faster. A minimum of 4GB RAM is required to install and launch the video editors. The more the RAM of your system, the better your experience will be.
Cut-away from speakers
The video might look static if you linger on one person speaking. Hence, it is essential to know when to cut to get the best results. For instance, you can add B-roll when editing a vlog, in which you speak to the camera to illustrate the object. It improves the pace while making the video interesting and worth watching.

Learn to use colors
Video is all about having good visuals; therefore, you should know how to use colors when using an online video editor to bring the most pleasing results. There are two color editing processes – color correction and color grading. Both these techniques have their own applications and usage.
Color contrast is used when the shots are taken from two different cameras or captured in different lighting conditions. Such clips look visibly different when placed adjacent to each other in an edit. However, the users can easily fix this trouble by adjusting the color contrast, white balance, and brightness.
On the other hand, color grading gives a distinct look to the shot by using specific high-end applications with detailed grading interfaces. Although it is relatively time-consuming, color grading is worth the effort and can be easy for beginners with LUTs that apply a preset style. All you have to think about is how the tone of your video changes if you add warm or cool colors and apply the changes accordingly.
Don’t forget the music
The music complements videos and makes them worthy of presenting to your audience. Adding the right track will boost the video’s energy while adding life.
However, integrating the audio track into your video isn’t that simple. The place where newcomers usually go wrong is that they don’t sync the video editing process with the music, resulting in irritating audio-video lags.
The key to synchronizing music with a video clip is to play the track and tap your finger with the music to add markers. The points you tap are the ideal spots for the video to cut. You can also look at the audio waveform to see the peaks to cut on.
Balance your audio
Once you add an audio track to your video, it’s time to balance out the same for a smooth flow. Keep in mind that if your music makes it difficult to hear the speech, it will do more damage than good. The audio should blend with the visuals to create a soothing effect instead of disturbing. Also, it is vital to balance the volume of speech throughout the video. One common mistake beginners usually commit is including clips with speech portions at noticeably different volumes.
Balance speed first by muting any other audio. Go through your video, adjusting the speech clips’ volume as close as possible. After that, adjust other audio tracks around the speech. Use the keyframing or ducking feature in most online video editor tools to reduce the audio/background sound volume when speaking and increase it elsewhere.

Don’t wait to be perfect – Go with the flow
Being an amateur video editor, you shouldn’t aim to maximize audience engagement and a perfectly edited video at the beginning. This will happen but with time, practice and experience. Don’t rush things and go with the flow.
With experience, you can tweak the videos and make better changes in the future but for now, be sure that your editing version achieves its goals and doesn’t have any inappropriate content. Never limit yourself to being perfect, and ensure that you follow the basic video editing steps.
Conclusion
Knowing video editing tips and tricks will make your cuts flow smoother while helping you produce better results in the end. Don’t forget to back up your project. If you lose your work, it doesn’t matter how well-edited it was. It’s no secret that video editing is a daunting task but following the basics will ease the process while yielding worthy outcomes.
Look no further. Bookmark the page right away and use the practical tips listed above to achieve a finished masterpiece.


