While we all hope for technology to be as plug-and-play as some promoters suggest, that’s not always the case.
The reality is that computers come with numerous hardware, software, and configuration differences, and so things don’t always go as planned. For the more common webcam issues, here are four easy fixes to try.
1. Resolve Missing or Outdated Software Drivers
Software drivers are required with most PC hardware. They tell the PC how to both recognise and communicate effectively with the new hardware. And this is true for webcams too.
Missing Drivers
When upgrading to a new operating system version or after a cold start that doesn’t go as planned, hardware drivers might either not be present or have been lost. In which case, the installation file for the appropriate drivers will be required. Sometimes, the O/S can locate the drivers when initiating an update of them, but other times, you’ll need to download the latest driver bundle from the webcam provider’s support page.
Outdated Drivers
Drivers get updated due to misconfigurations, buggy code, and new features. Updating the software drivers is beneficial to remove many other webcam issues that may be occurring. You can chase your tail trying to hunt down the root cause of other problems when it’s an outdated driver causing it. A simple driver update can resolve that.
2. Reenable Disabled Video or Audio
Either due to a default software configuration or an operating system setting, the video and/or audio for a webcam may be automatically disabled. This can be a privacy feature or just a default setting. Most webcams, like with many Logitech webcams, come with software to control them and adjust their settings. Look at these app settings first. However, don’t ignore the various audio/visual settings within the operating system itself too. The latter can override a webcam software’s configuration.
Also, check for the obvious. Does the webcam have a privacy cover over the lens that you’ve failed to lift? With it down, it’ll usually only record a black screen.
3. Check USB Connections for the PC

The USB connections can sometimes cause issues, as outlined below.
Computer Devices
Operating systems occasionally experience a problem with their USB port technology. When booting up or restarting a PC, one of the USB ports may be temporarily faulty. As a result, the O/S indicates an issue with the hardware and won’t acknowledge a webcam plugged into that port.
Usually, simply rebooting the PC will resolve the temporary issue. However, if it’s a continual one, then the USB hardware on the motherboard may have become faulty and will need repairing.
Physical Connections
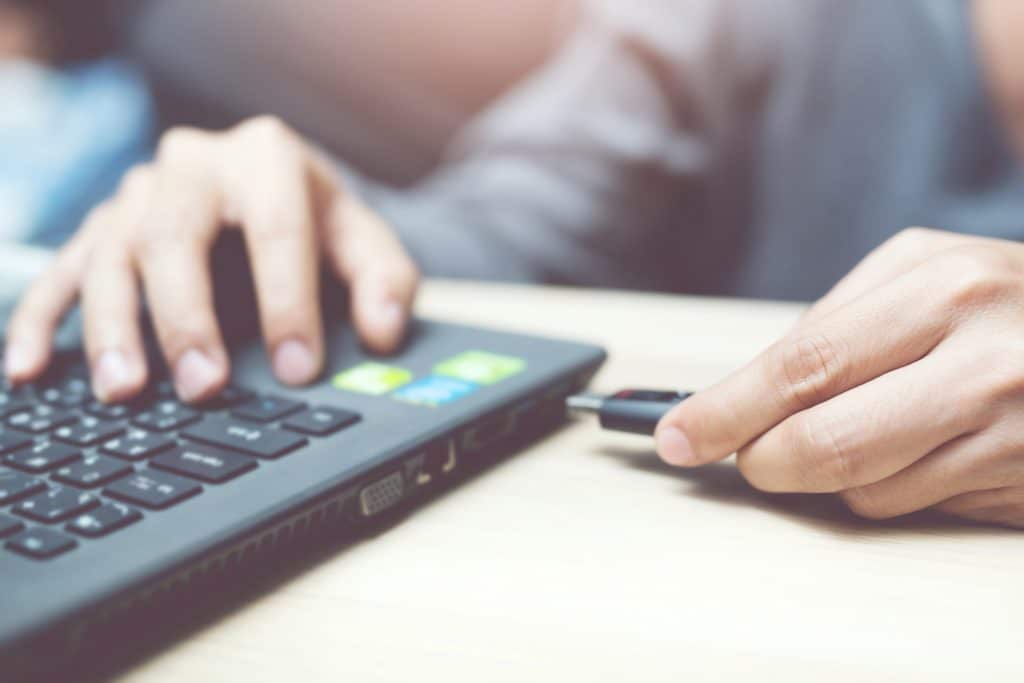
USB ports can get expanded, preventing the USB plug from seating perfectly. When this happens – usually due to regularly wiggling a USB plugin and out of the port – the peripheral may not register with the computer. Try unplugging and plugging the webcam in again. Most of the time, this does the trick. However, if the USB port is too damaged, it may need repairing.
4. Look at the Anti-Virus App
Some anti-virus apps mistakenly see a webcam as a potential troublemaker and block its use. It may be necessary to go into the anti-virus settings to remove any blocking on certain USB ports or the webcam installation or configuration software. Re-running these apps should allow the webcam to install and operate correctly.
Most webcams perform immediately once plugged in. However, occasionally a little bit of troubleshooting is required when that’s not the case.


